Create a Transaction
Take the following steps to create a transaction manually within the Jumio portal.
-
From the Transactions tab of the Explorer, click Create Transaction.
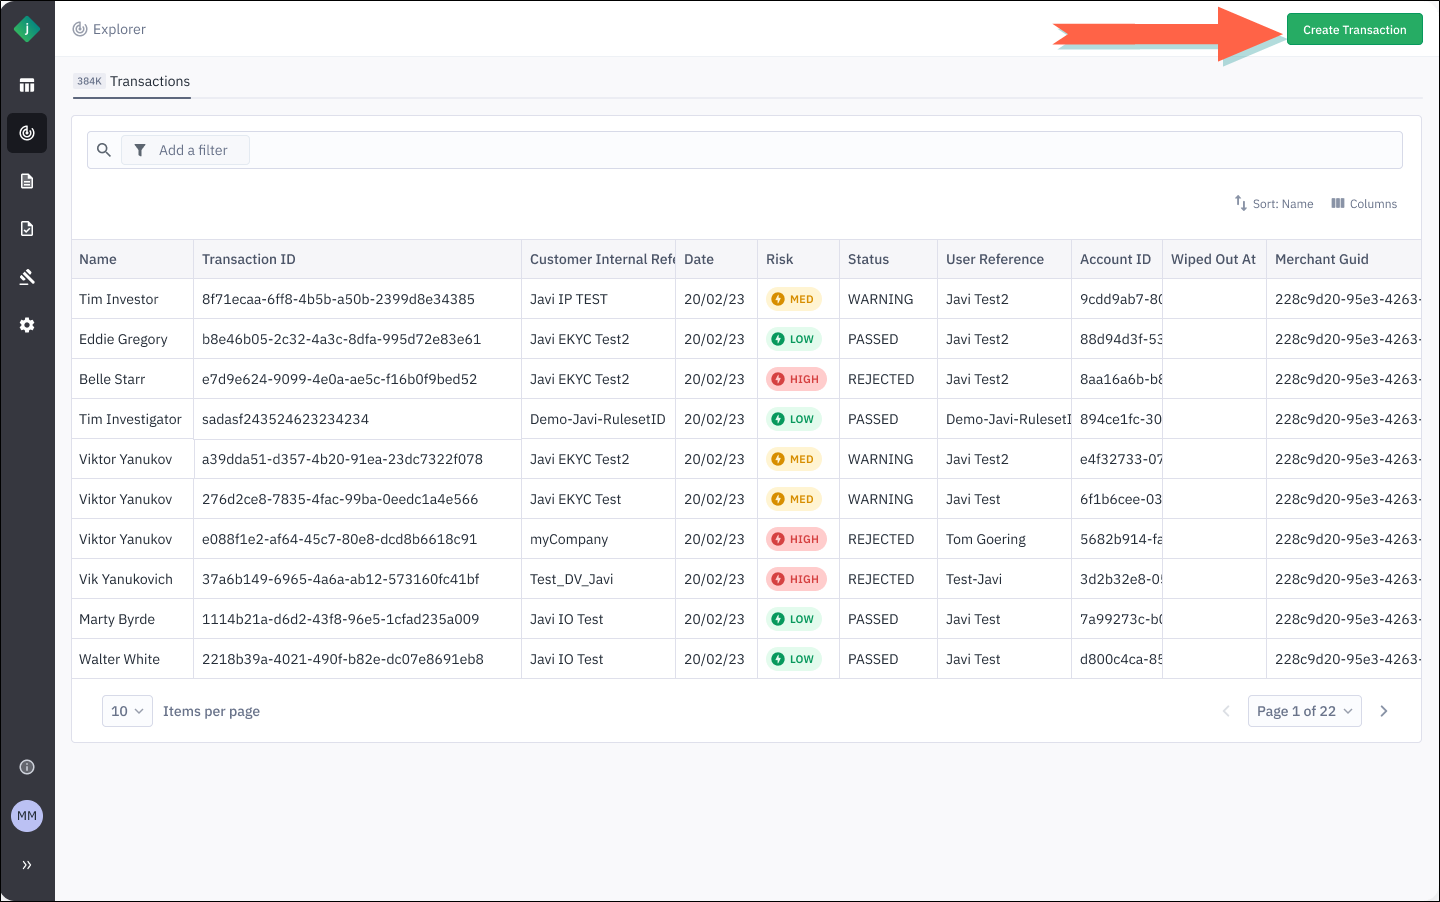
The Create a Transaction page displays. -
Specify a workflow in either of the following ways:
-
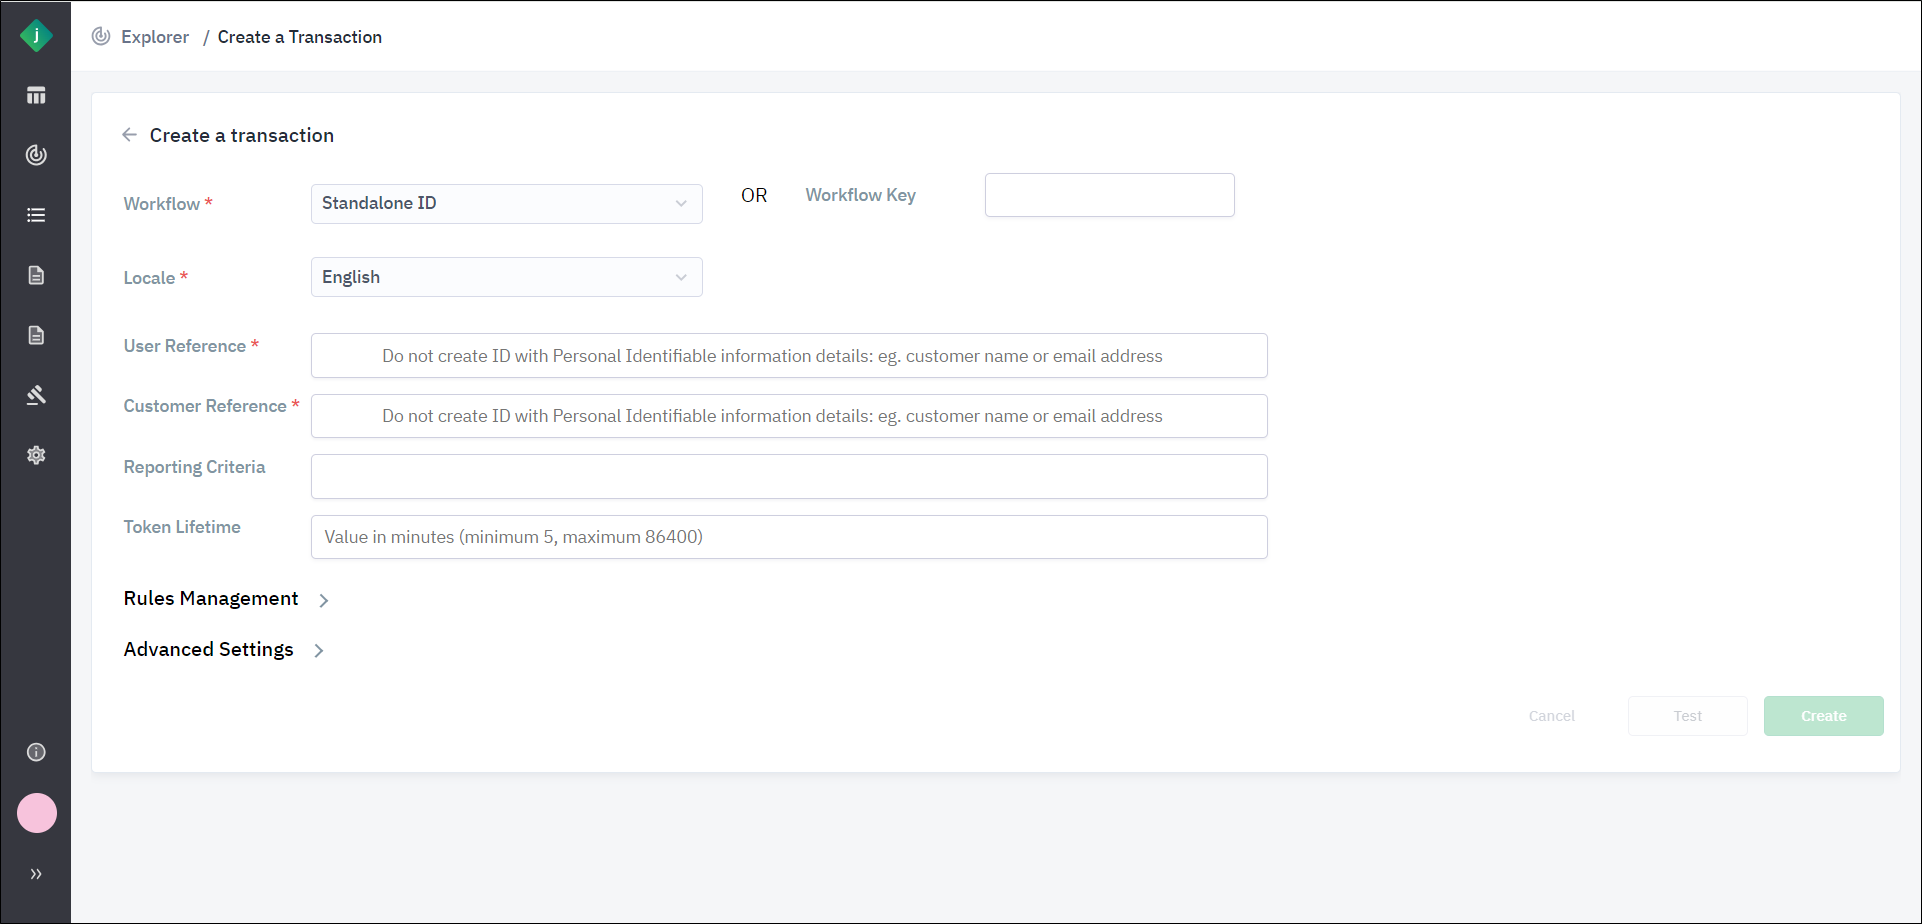
Select an option from the Workflow list:
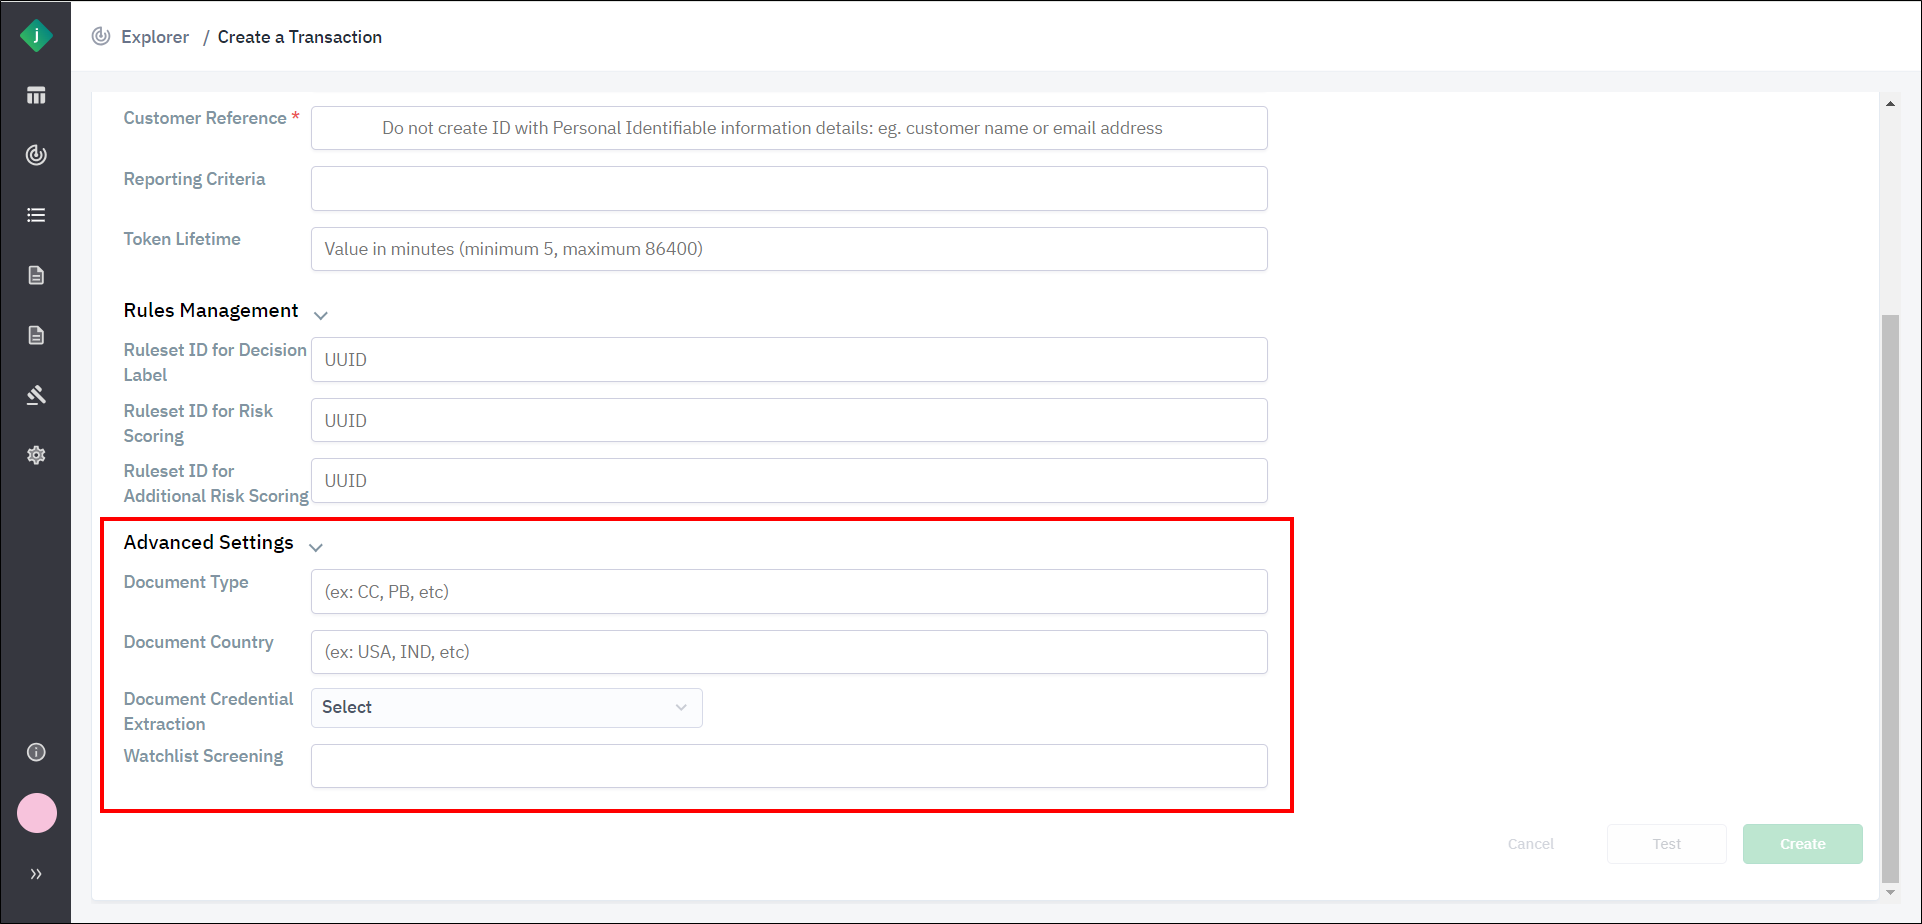
 If you select the Document Verification workflow, the Document Type and Document Country fields under Advanced Settings are also required.
 -
Enter a value in the Workflow Key field.
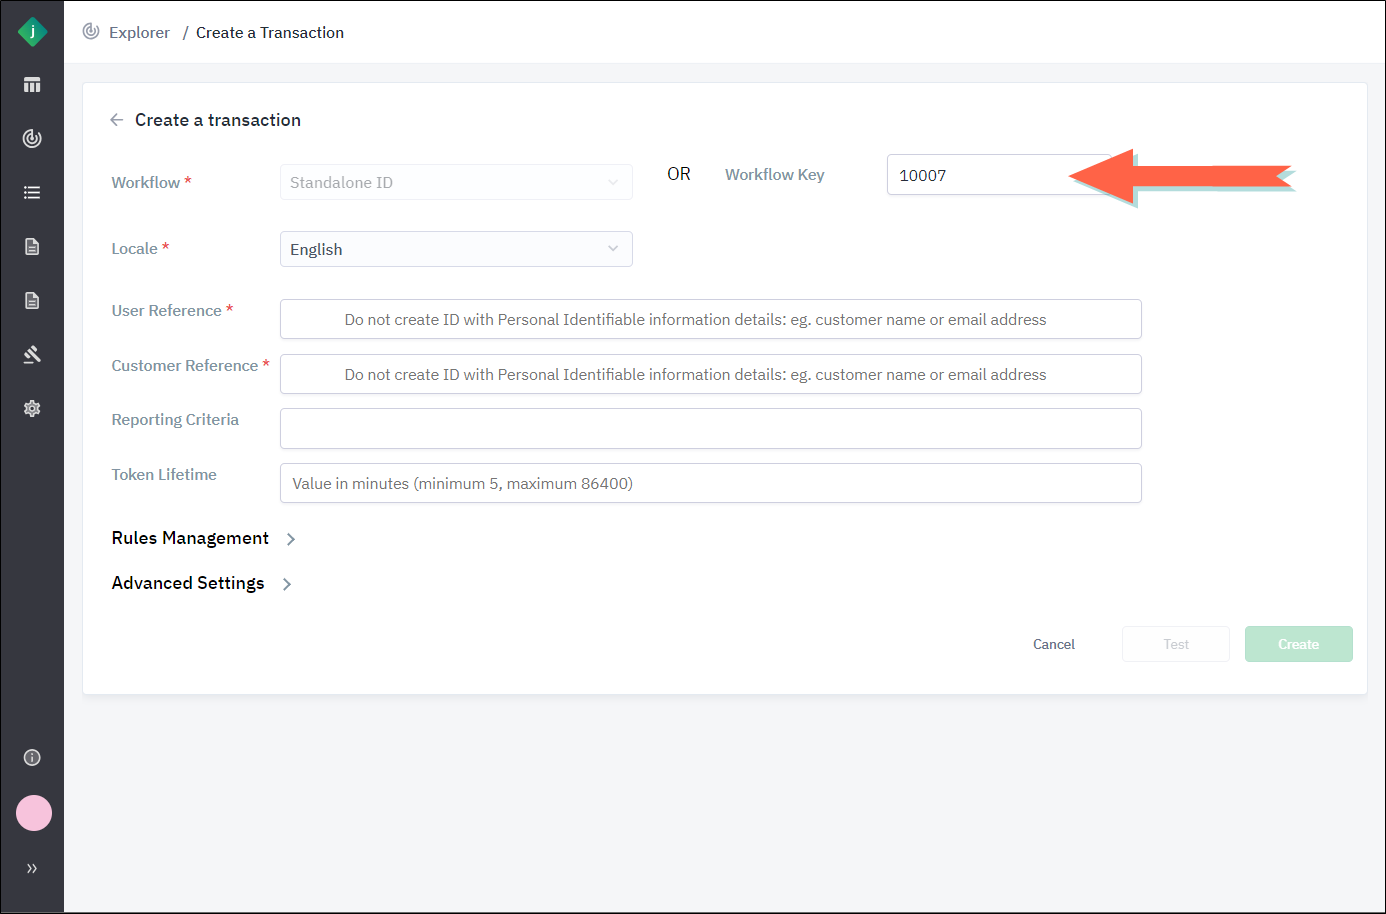
-
-
Select a value in from the Locale list and enter values in the User Reference and Customer Reference fields. These fields are required. For descriptions of these, see General Parameters.
-
Complete the remaining data fields at the top of the page as desired. For descriptions of the fields, see General Parameters.
-
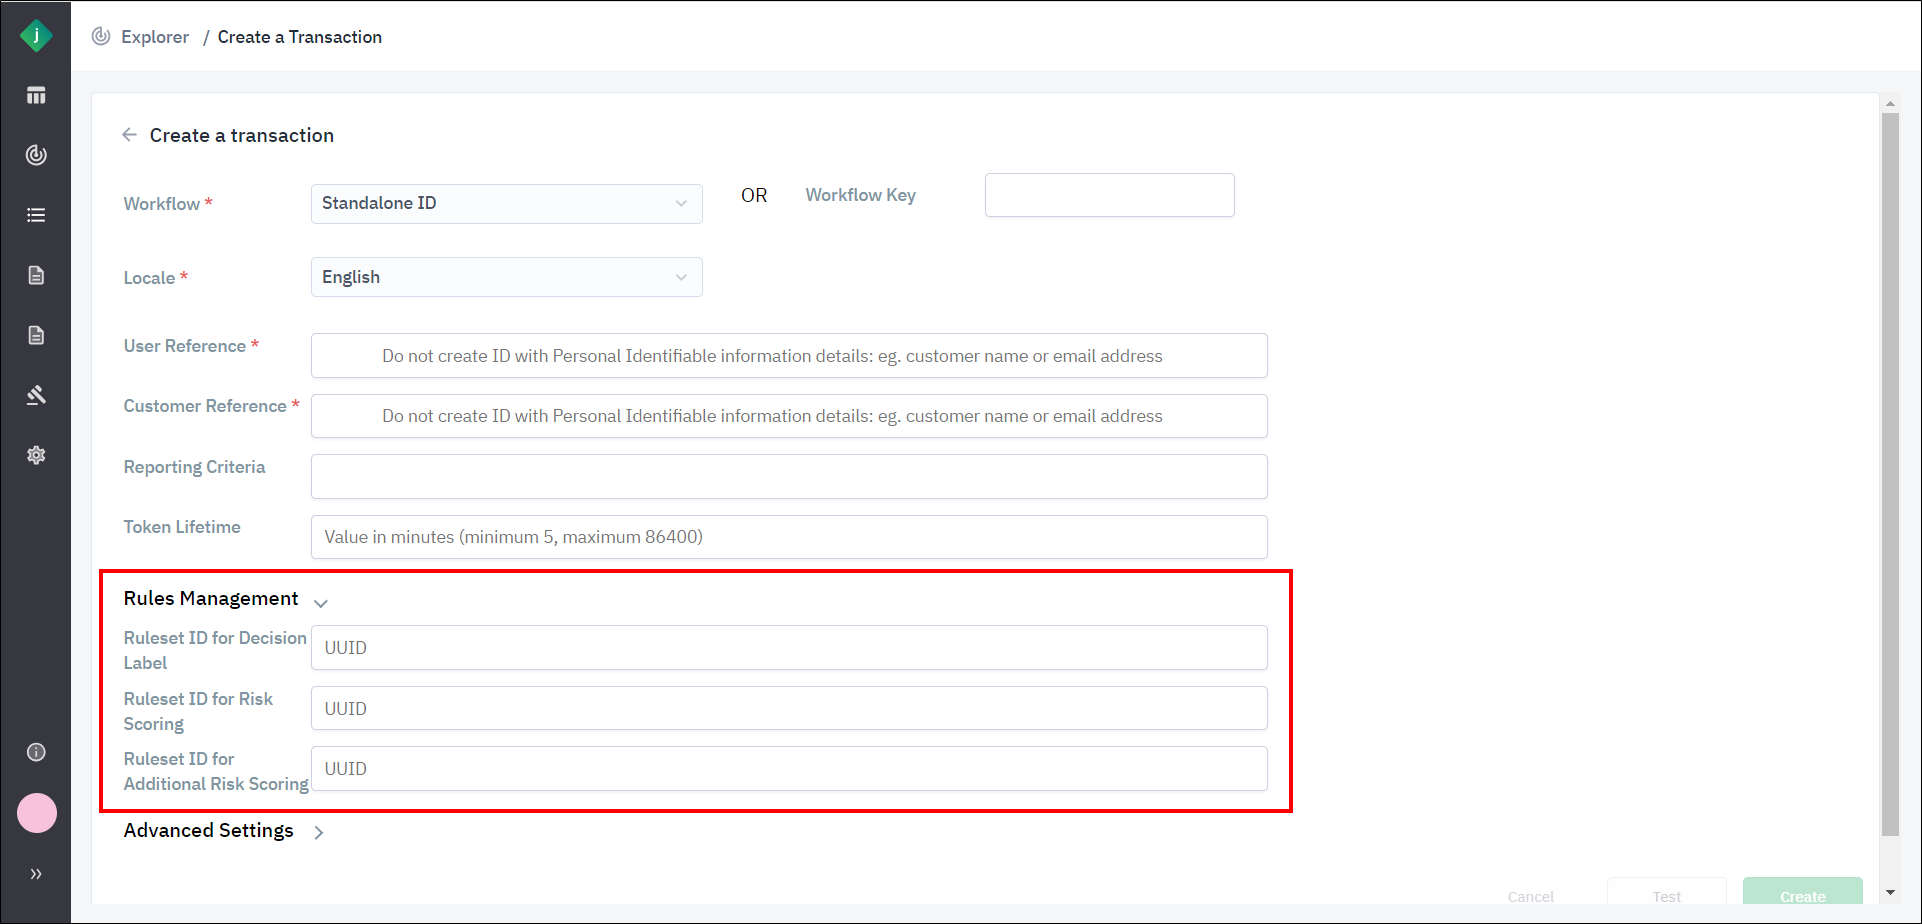
To specify which rulesets will be used by the transaction to assign scores and decision labels, expand the Rules Management section of the page and enter the appropriate ruleset IDs. See Rules Management for descriptions of these fields.
-
To configure advanced settings, expand the Advanced Settings section of the page. See Advanced Settings for descriptions of these fields.
-
Click Create.
-
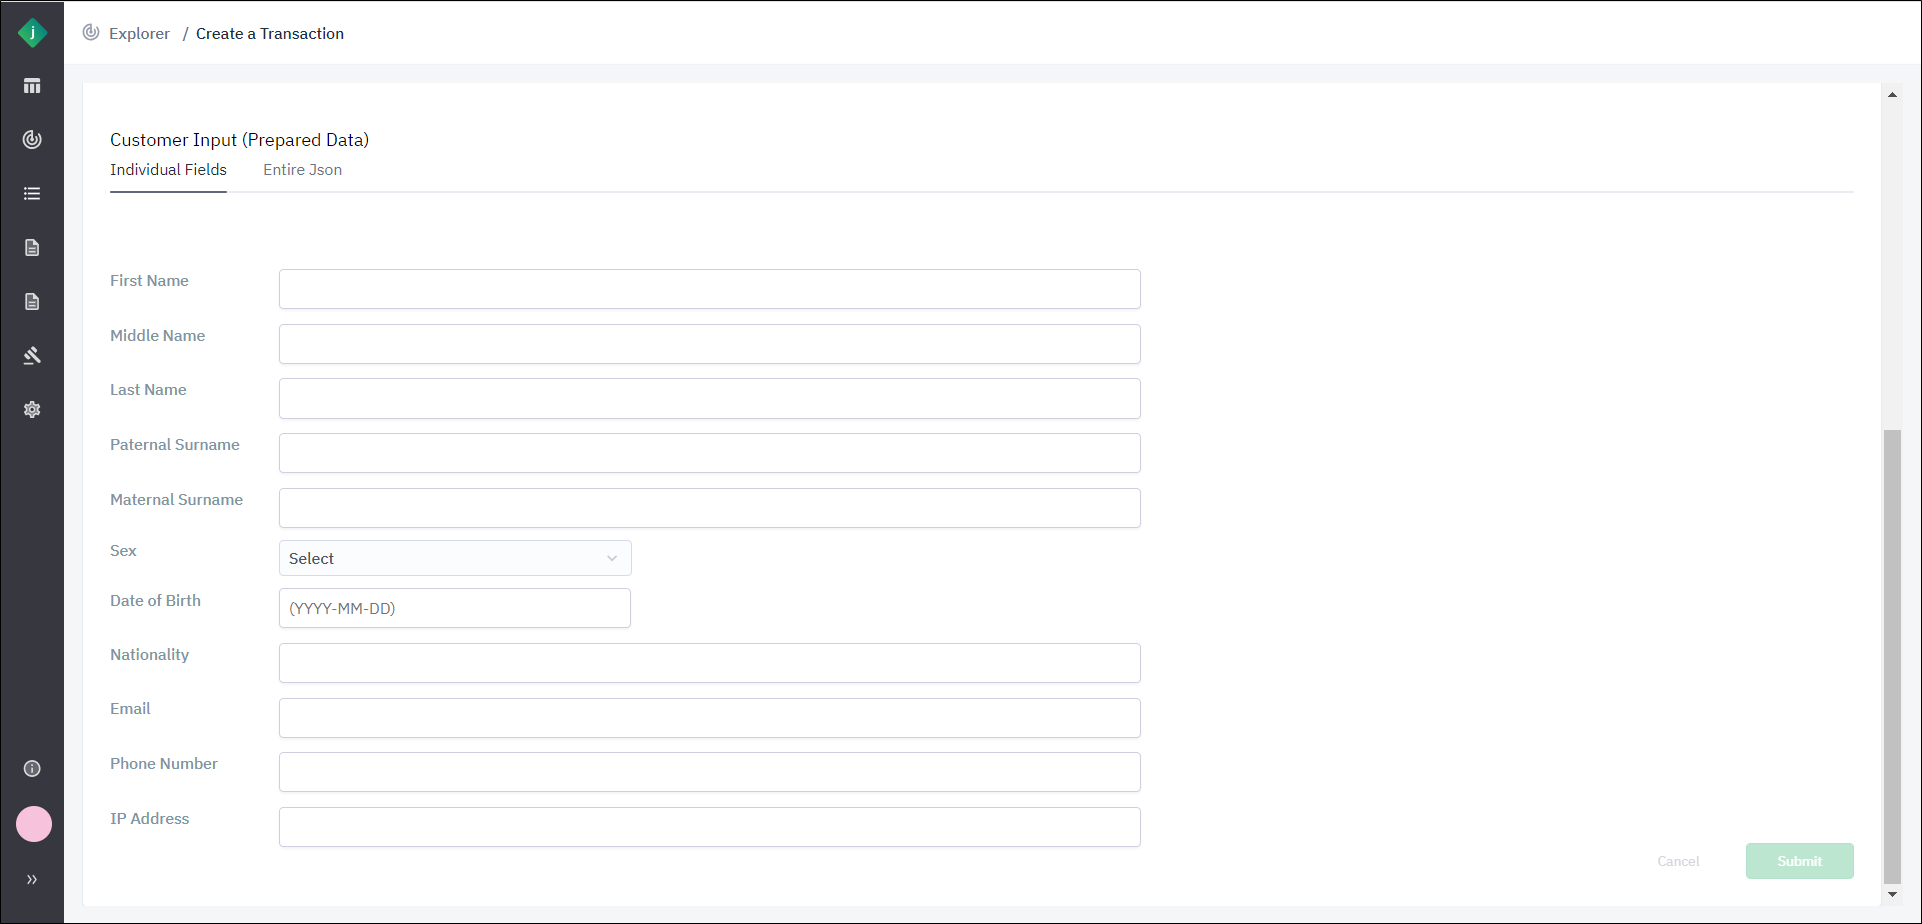
If you are creating a workflow that allows for the submission of prepared data, the Customer Input (Prepared Data) section appears at this point. (If this is not the case, you can skip to step 9.) For descriptions of these fields, see Customer Input (Prepared Data).
Enter prepared data in either of the following ways:-
Enter the data in the fields provided on the Individual Fields tab and then click Submit..
-
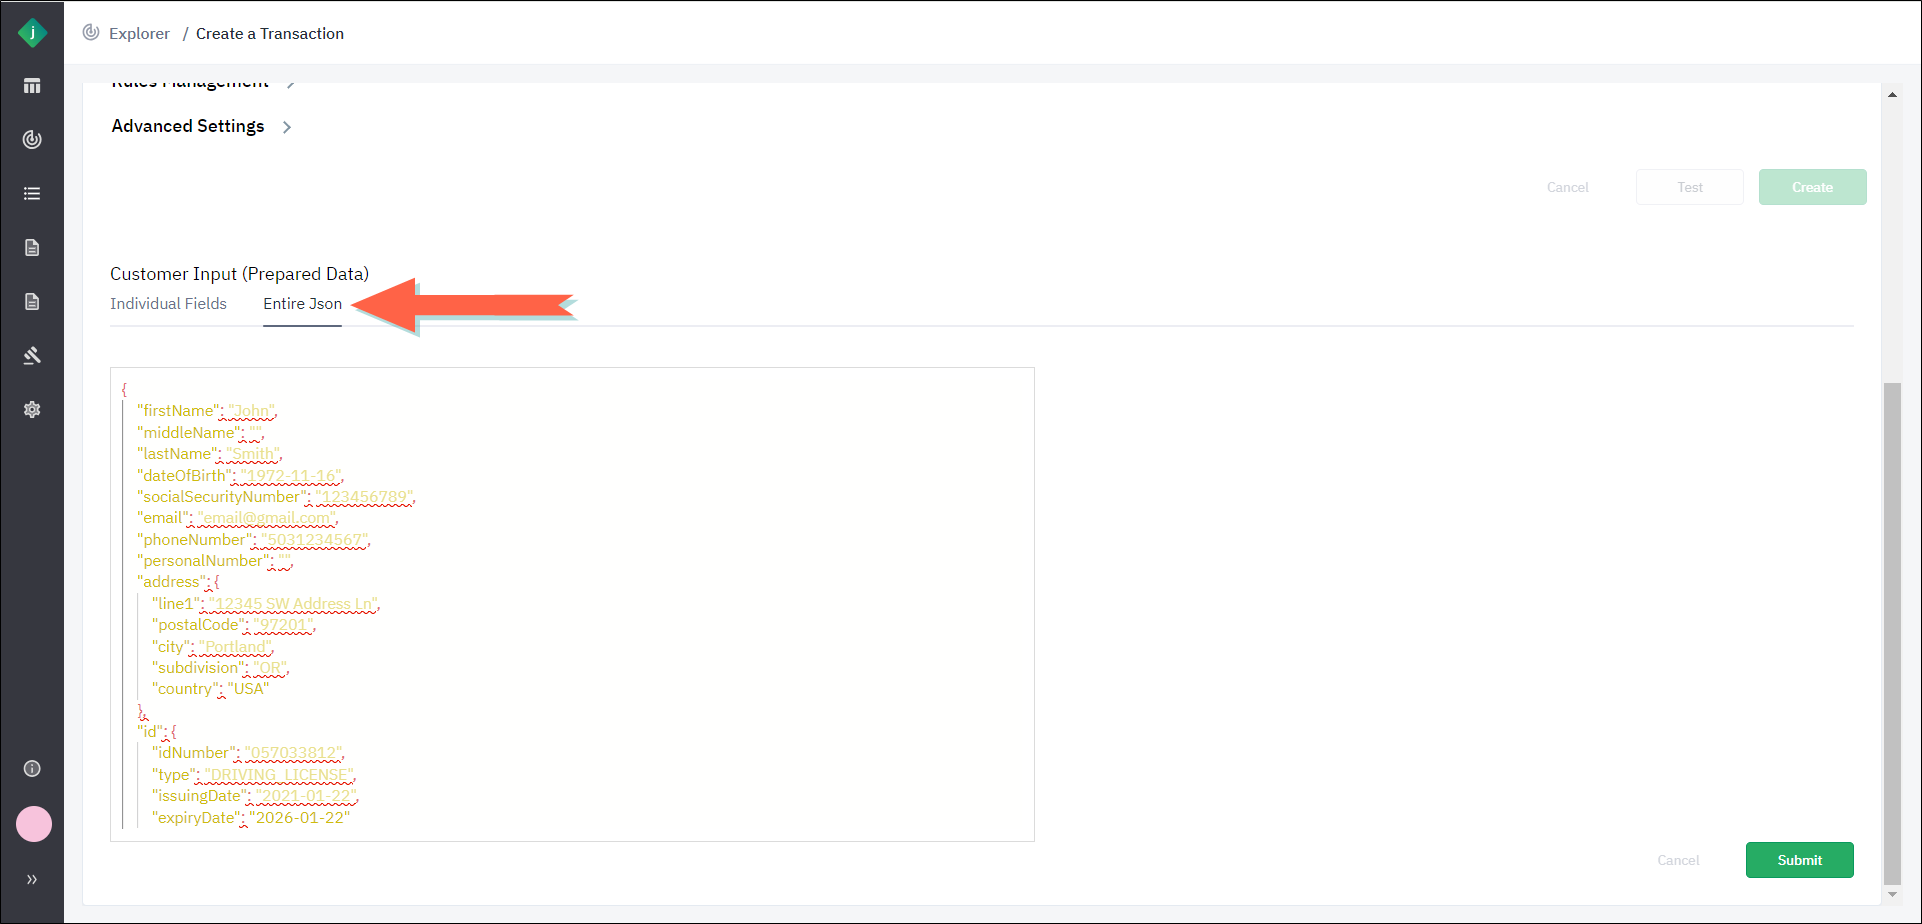
Select the Entire JSON tab and enter the data as a JSON object and then click Submit.
-
-
To test the workflow in your browser, click Test. The customer journey start page will display, allowing you to test the steps that your end user will be required to take during verification.
The Test button works only if you have selected one of the three workflows shown in the Workflow list. It will not work if you have entered a workflow key instead.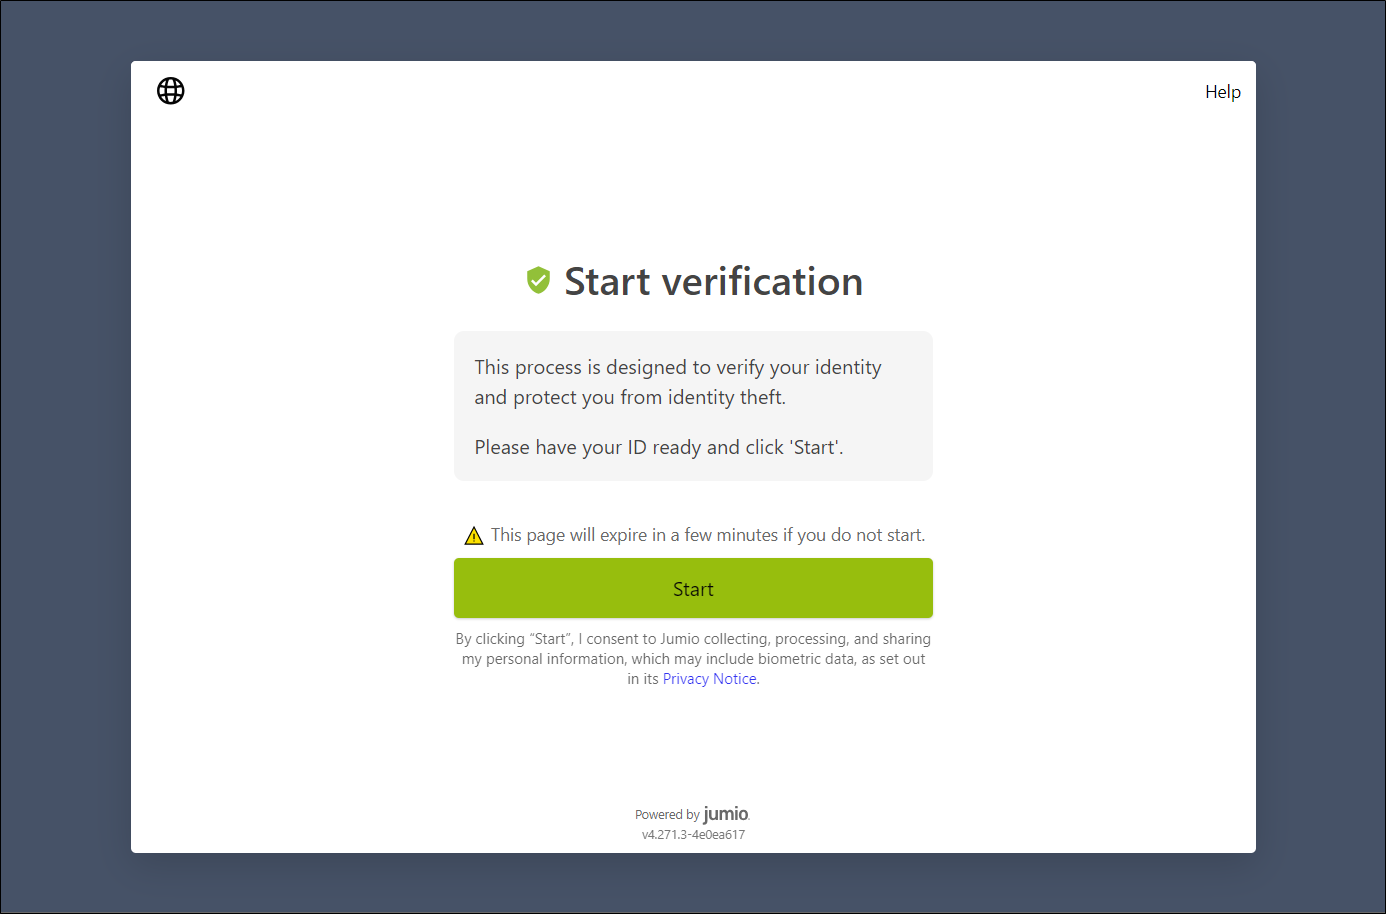
-
The Jumio Portal creates the transaction and displays its transaction ID.
If the workflow was configured to generate a URL for the transaction, the URL will display as well. This URL is automatically copied to your clipboard.